Channel management
1. Channel allocation
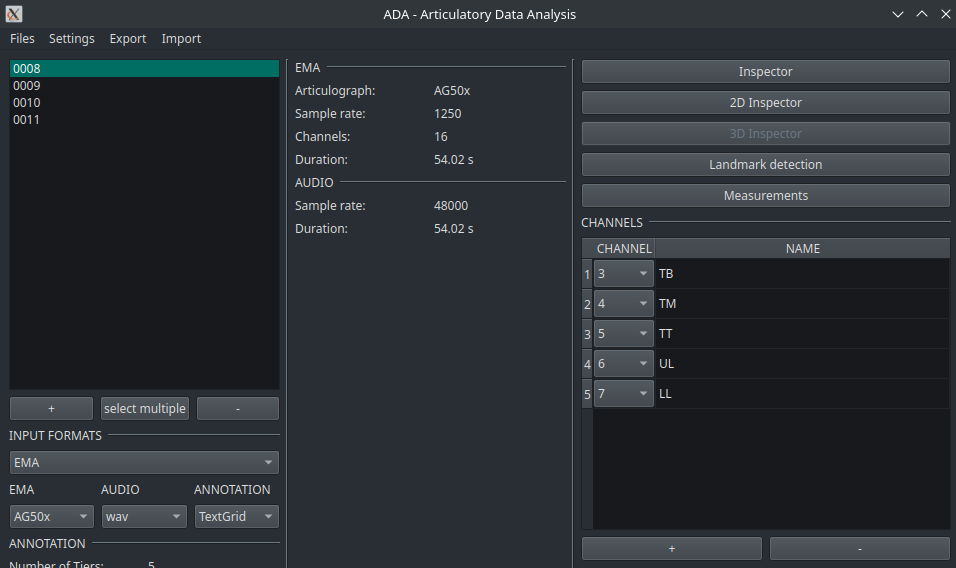
Once the data is loaded into ADA, it is necessary to specify the channels that will be used in the program. This channel information is used for the visualization, annotation, and measurements. The channel allocation is handled in the CHANNELS area that consists of a table with the channel and a corresponding name as headers.
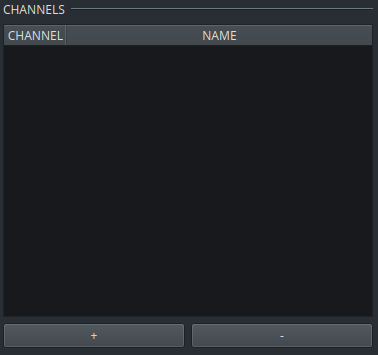
By clicking on the + button, a new row will appear. It consists of a dropdown containing the number of channel available and a text field were users can specify a name for this channel.

For example, if the channel 3 is for a sensor attached to the tongue body, channel 4 for a tongue mid sensor and the sensor of channel 5 is attached to the tongue tip, they can be entered as follows:
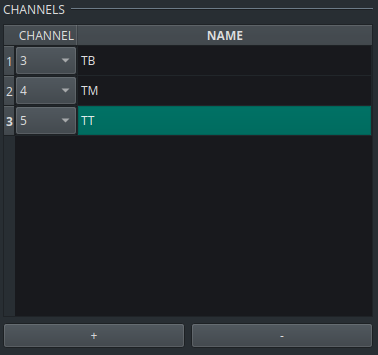
It is not necessary to use the same abbreviations. The naming of the channels is entirely up to the users.
2. Storing channel information
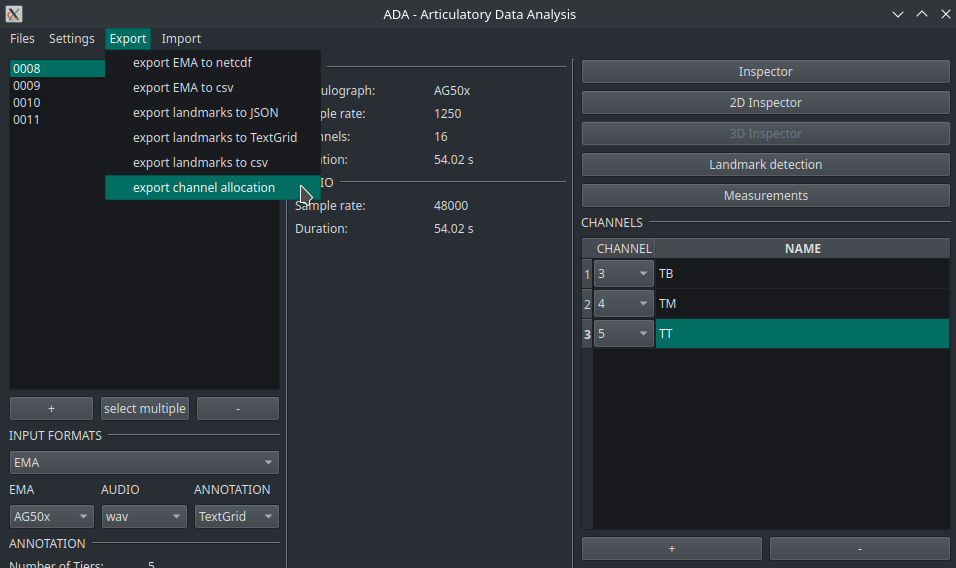
In case the dataset has more than one speakers, it may be annoying to enter the channel information anew anytime data from the same speaker is loaded. In this case, it is possible to store the current information entered into the channel area. Click on export and select export channel allocation.
A dialog window appears where you have to specify the name and the location where the file has to be stored. The channel allocation information is then stored in the json format.
3. Importing channel information
The channel information can then be imported into ADA. As a pre-requisite, import your data first and click on one of these files. This is necessary to access the number of channels stored in the EMA recording. The import itself is done by clicking on import at the top and then on import channel allocation:
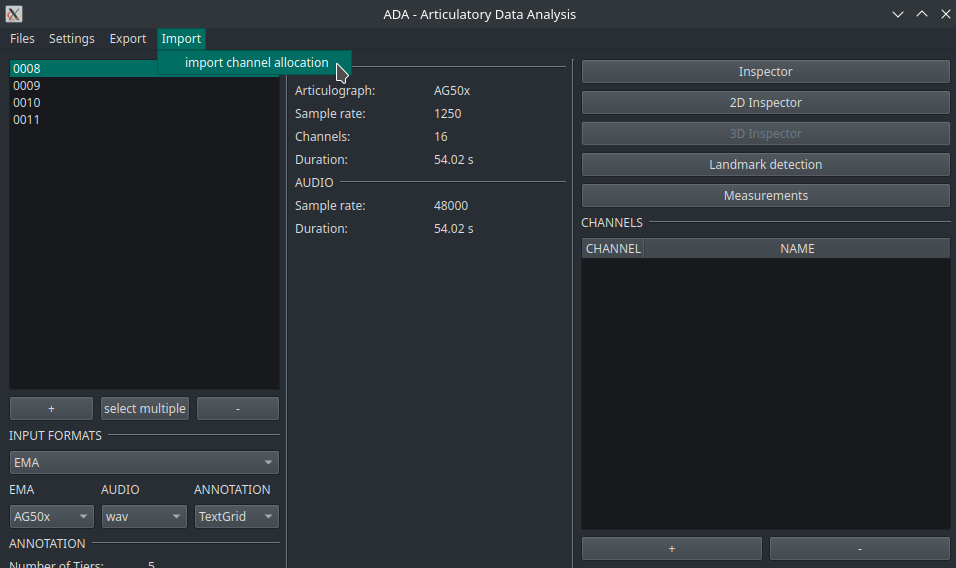
Finally, the channels and their corresponding names appear automatically in the channels list.